Configuring Kron PAM Desktop Client
5 min
One way to use the HTTP Proxy for a web page is to simply use the Kron PAM Desktop Client without changing any browser or computer proxy settings. The Kron PAM Desktop Client can be downloaded from the Kron PAM Web GUI login page.
Step 1: Download the Kron PAM Desktop Client.
- Open the Kron PAM Web GUI with an internet browser and download the Kron PAM Desktop Client.
- Install the client by following the instructions.
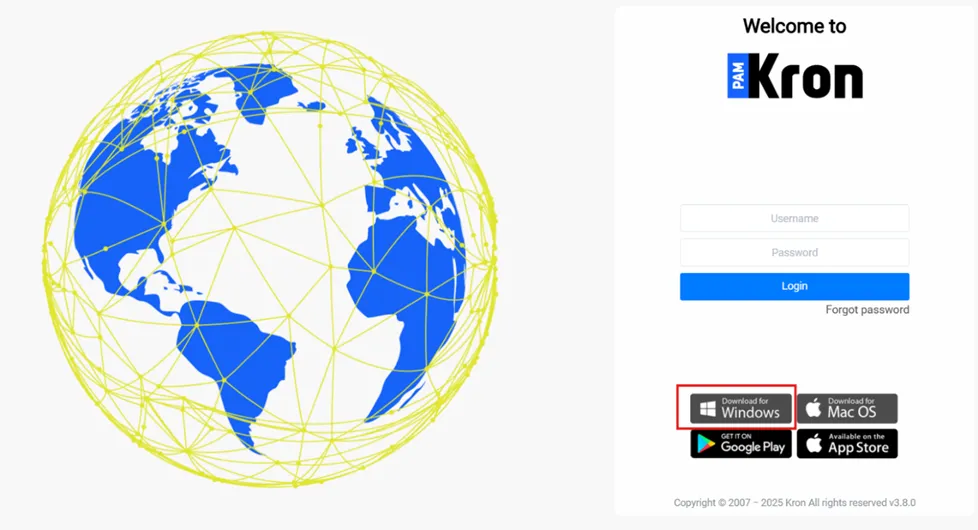
Download the Kron PAM Desktop Client
- Open the Krtsc_sc_4.2.xxx.exe installer file.
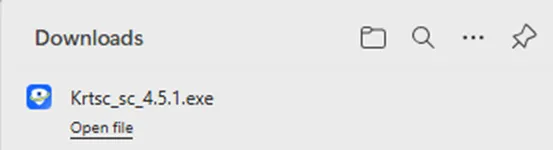
Open the Desktop Client setup file
- If the existing Kron Desktop Client version is older than 4.2.7, the warning pops up and asks permission to remove the old version before installing the new version.
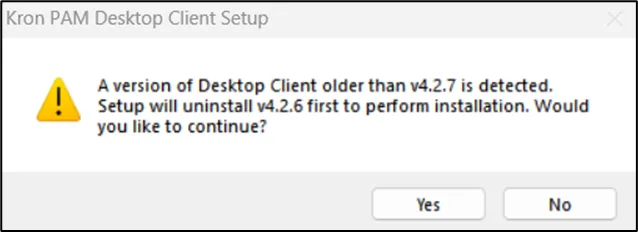
Warning regarding removal of the older Kron PAM Desktop Client
- Press the Yes button to continue.
- The installer asks which users will be allowed to use the Kron PAM Desktop Client software. Either all users or current users can be selected, and after that, press the Install button.
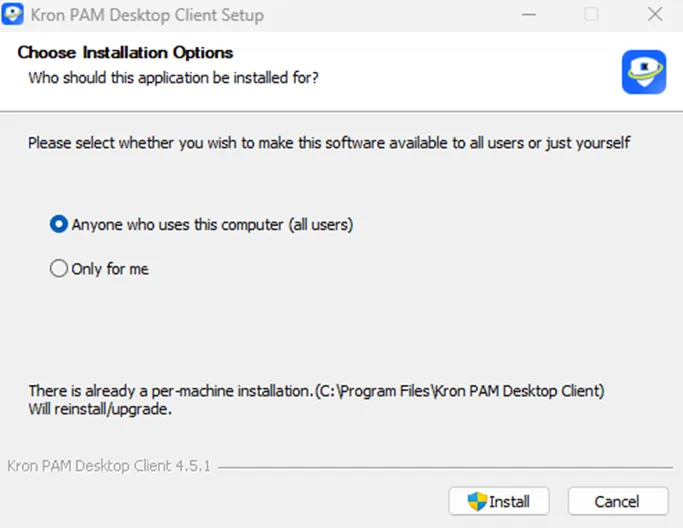
Select user(s) who will be allowed to use Kron PAM Desktop Client
Step 2: Open the Desktop Client to add a server.
- Open the desktop client. If this is the first time you download the Kron PAM Desktop Client, the Connections screen will open. Otherwise, click the Connections button on the Login screen.
- Click Add.
- On the Add Server screen, enter the Kron PAM IP Address and the UI port number. The default port value is 80 for HTTP.
- and 443 for HTTPS. This port might change as required.
- (Optional) If SSL is activated in the network, check the Use SSL box.
- Click Save.
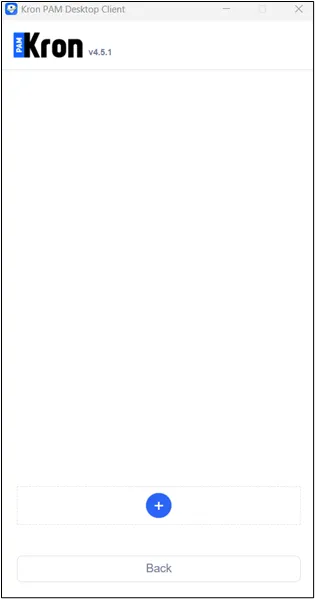
Add A Server on Kron PAM Desktop Client
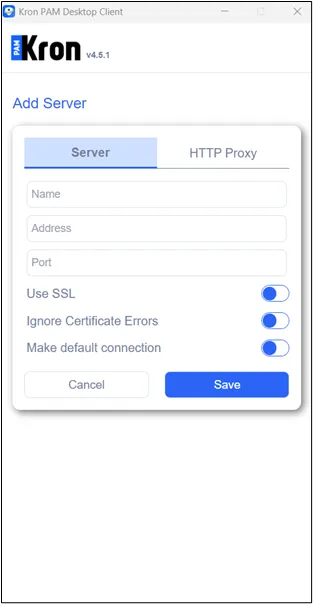
Save
- Click Return to go back to the Login screen.
- Enter your username and password. Click Login.
- The Device Group tab opens, and all device groups and allowed devices for your user are listed. Choose an HTTP/HTTPS device and double-click to open an HTTP or HTTPS session.