RPAM Portal Installation
Start the RPAM MTC Installer on the RPAM Portal machine (Preparing the Installation ), complete the Common Installer Steps, and select RPAM Portal as the configuration type.
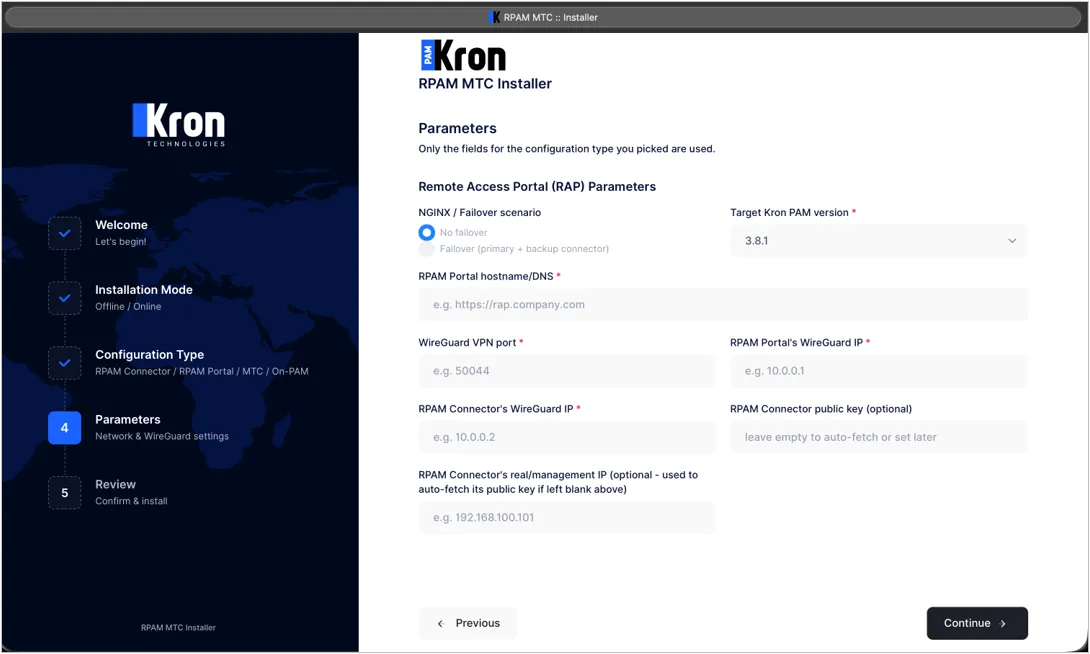
- Parameters
Field | Description |
|---|---|
NGINX / Failover scenario | Whether the portal connects to a single RPAM Connector ("No failover") or to a primary + backup RPAM Connector pair ("Failover"). |
Target Kron PAM version | The target Kron PAM version; it determines which RPAM Portal jar file and nginx template are used. |
RPAM Portal hostname/DNS | The external address of this portal, with https:// (e.g., https://rpam.company.com). |
WireGuard VPN port | The UDP port shared with the RPAM Connector. |
RPAM Portal's WireGuard IP | The WireGuard tunnel address of this server (e.g., 10.0.0.1). |
RPAM Connector's WireGuard IP | The WireGuard tunnel address of the RPAM Connector to connect to (e.g., 10.0.0.2). |
Backup RPAM Connector's WireGuard IP (Failover only) | The WireGuard tunnel address of the second/backup RPAM Connector (e.g., 10.0.0.3). |
Primary/Backup RPAM Connector public key (optional) | If left empty, it is fetched automatically from the "real/management IP" field below. |
Primary/Backup RPAM Connector's real/management IP (optional) | The real (not tunnel) IP address of the RPAM Connector; it is used to fetch the public key automatically. If the RPAM Connector is not installed yet, it can be left empty. |
Normal Scenario (No failover): The RPAM Portal establishes the WireGuard tunnel to a single RPAM Connector. If the tunnel becomes unavailable, access is interrupted until the connection is restored.
Failover Scenario: The RPAM Portal is configured with a primary and a backup RPAM Connector. If the WireGuard tunnel to the primary RPAM Connector goes down, the traffic is automatically redirected to the backup RPAM Connector.
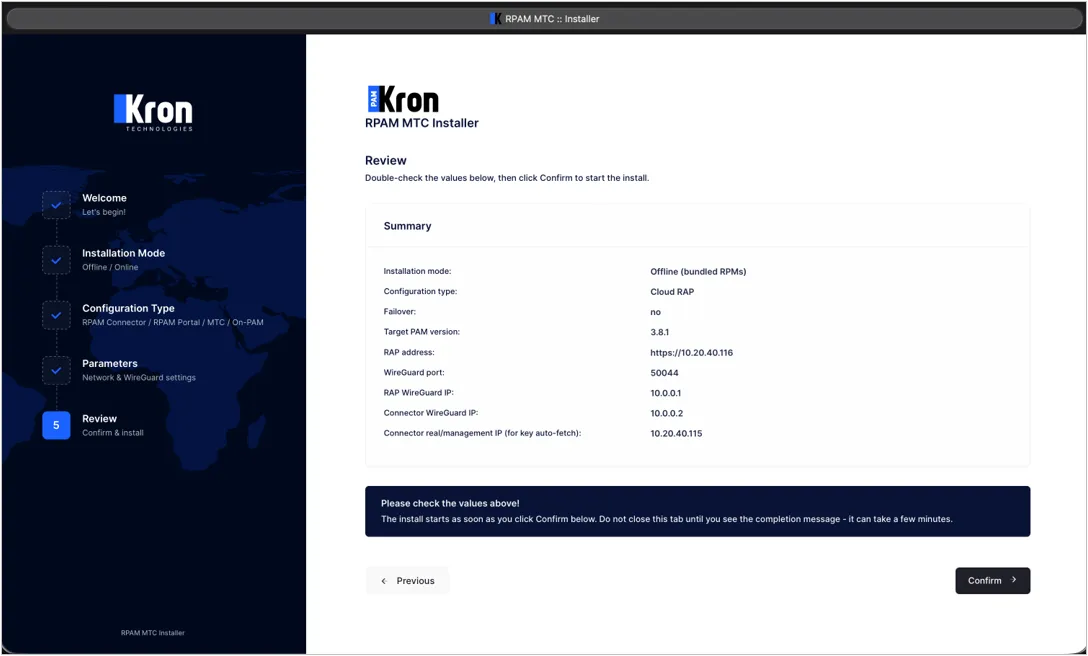
- Review, Confirm and Installation Progress
The flow is the same as in RPAM Connector Installation: check the summary, press Confirm, and follow the progress screen.
- Installation Result
The WireGuard public key of this server is shown. It must be entered on the RPAM Connector side (on the /peer-key page of the RPAM Connector, see Completing the Peer Key Exchange on the RPAM Connector).
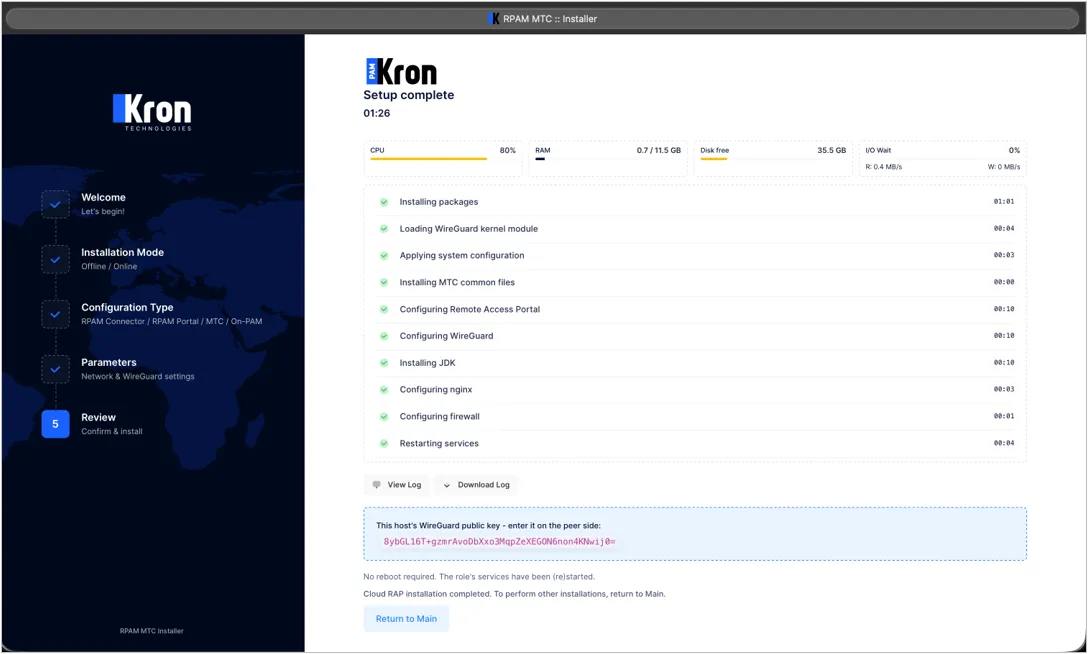
The RPAM Portal installation also installs JDK 20, copies the jar file of the selected Kron PAM version as /pam/remote-access-portal/rap-0.0.1-SNAPSHOT.jar, configures nginx with a self-signed certificate, writes the RPAM Portal hostname/DNS value to sc.server in application.properties together with an /etc/hosts entry, sets SELinux to permissive, and opens 443/tcp and the WireGuard port (UDP) if firewalld is active.
To replace the self-signed certificate and generic RSA private key with the customer's own certificate and RSA private key, remove the self-signed certificate and generic RSA private key in the /etc/nginx/certs directory, add the customer's certificate and RSA private key with the same names (cert.crt and cert.key), and restart the nginx service by using the sudo systemctl restart nginx.service command.
- Verification
Linux CLI | [root@portal~]# systemctl status pam-rap.service [root@portal~]# systemctl status nginx [root@portal~]# systemctl status [email protected] [root@portal~]# wg show |
|---|
The RPAM Portal installation also creates the sss shortcut (/pam/scripts/show_service_status.sh), which shows the status of the pam-rap, nginx and WireGuard services in one step; sss restart restarts all three services.
Linux CLI | [root@portal~]# sss [root@portal~]# sss restart |
|---|
Browse to the RPAM Portal address from a web browser and verify that the portal responds. If [email protected] is in the "failed" state, the peer public key is most probably missing or wrong (see Section 12.1).
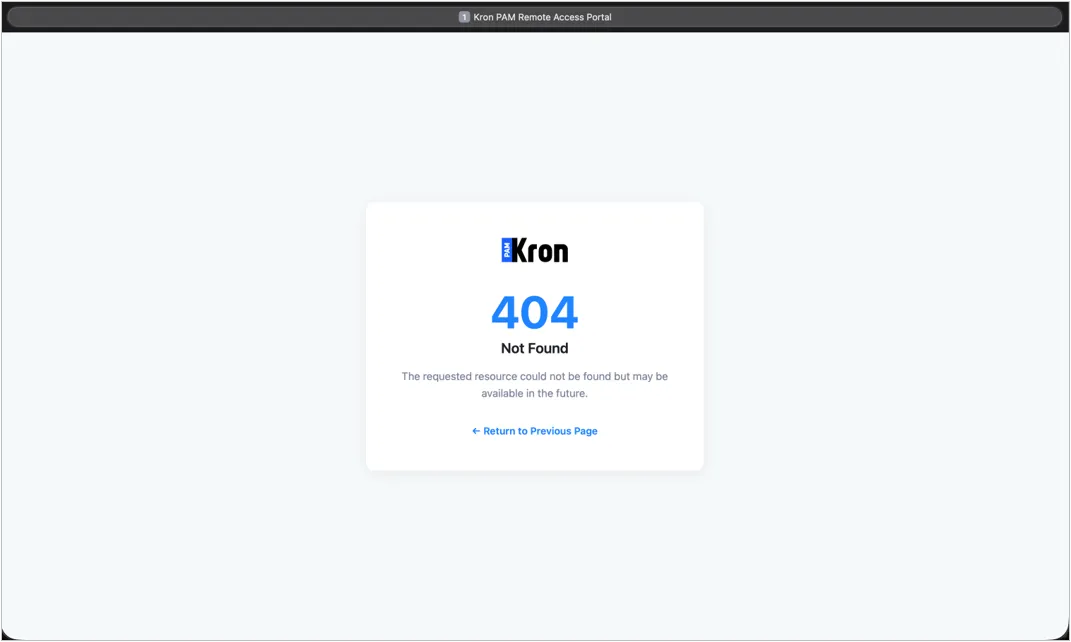
When the root address of the RPAM Portal is browsed, a 404 Not Found page is expected; this shows that the portal is running:
When the link in the RPAM invitation e-mail is opened, the passcode screen of the RPAM Portal is shown: