Common Installer Steps
The first three steps of the wizard are the same for all roles. The progress of the wizard is shown on the left side of the screen: Welcome, Installation Mode, Configuration Type, Parameters, and Review.
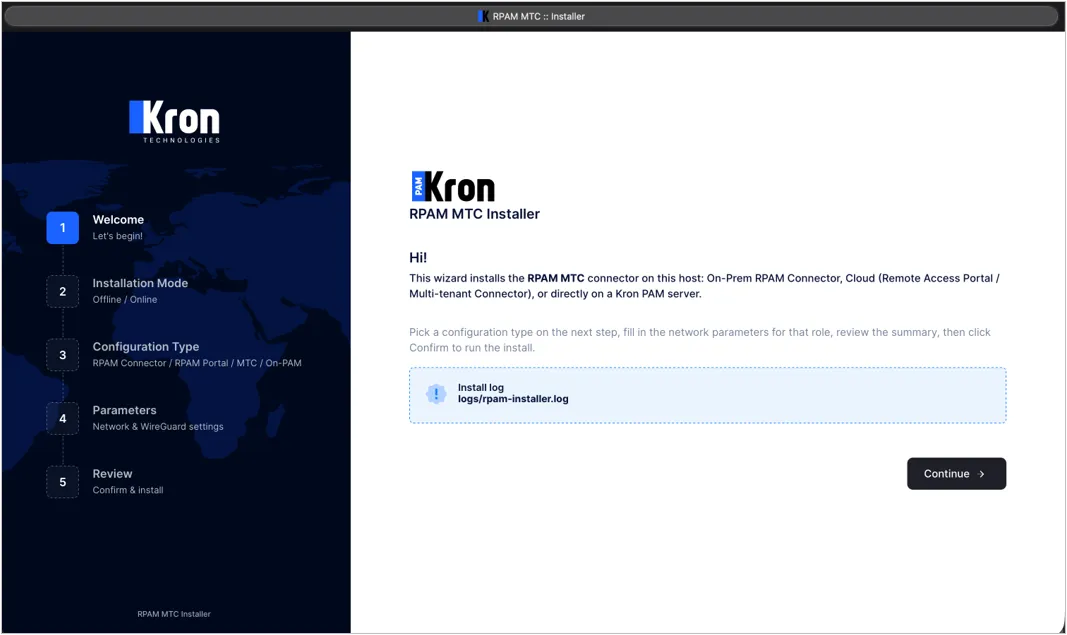
Step 1 – Welcome
The first screen of the wizard is for information purposes. The location of the installation log (logs/rpam-installer.log) is shown on this screen. Press the Continue button to proceed.
Step 2 – Installation Mode
In this step, the source of the packages is selected:
· Offline Installation: The RPMs bundled with the package (under files/) are used; no internet access is required. This is the default and recommended option for servers in air-gapped/closed networks.
· Online Installation: The packages are downloaded directly with dnf, and the EPEL/ElRepo repositories are enabled automatically if needed. The server must have internet access.
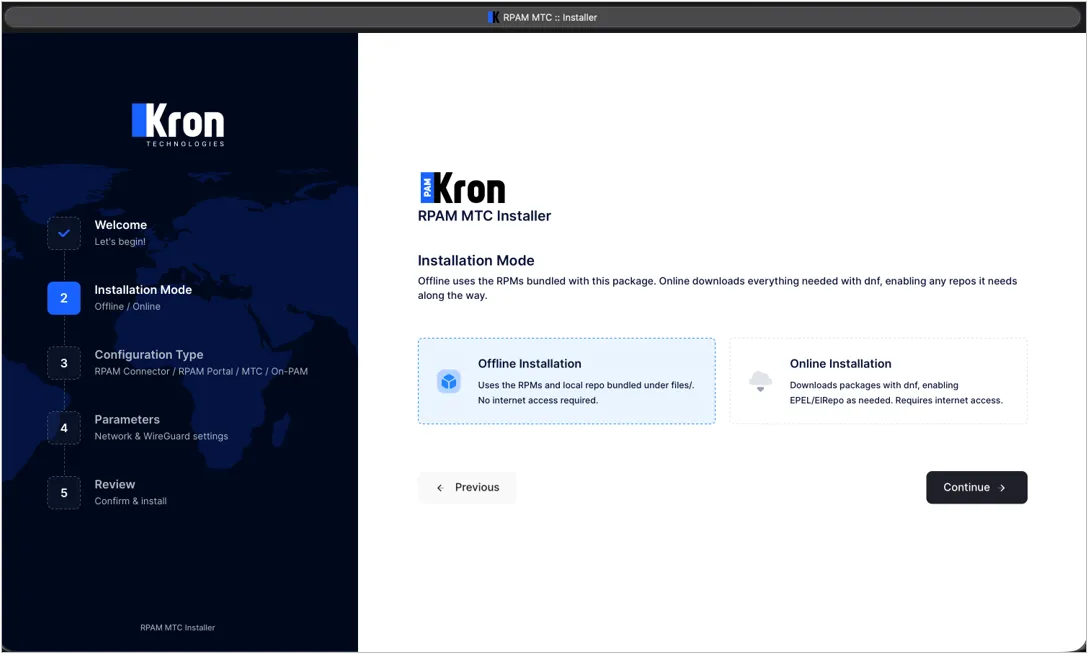
In offline mode, the installer defines a local repository (rpam-repo, /etc/yum.repos.d/rpam-repo.repo) from the bundled RPMs and disables all other dnf repositories on the host so that only the bundled packages are used. In online mode, the preflight check tests internet access by connecting to https://www.google.com.
This selection only affects the system packages of the role itself (kernel-headers, wireguard-tools, etc.). The JDK, the RPAM Portal jar file, and the MTC-specific files (heartbeat.py, nginx/WireGuard templates, etc.) are always installed from the files/ folder bundled with the package; they are not downloaded from the internet.
If you see the following problem during an online installation:
Errors during downloading metadata for repository 'appstream': - Curl error (60): Peer certificate cannot be authenticated with given CA certificates [SSL certificate problem: certificate is not yet valid]
Please check the system clock and synchronize the clock time:
systemctl enable chronyd --now
chronyc -a makestep
Check: The Run Preflight Check in the next step can be used to confirm that this selection works correctly.
Step 3 – Choose Configuration Type
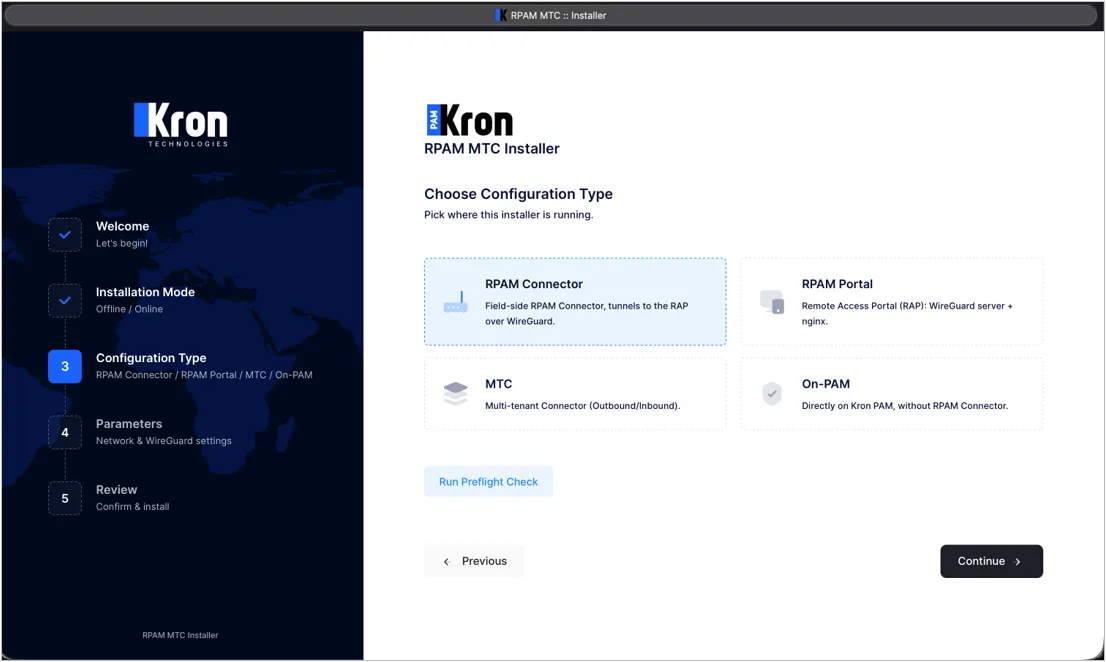
On this screen, the role to be installed is selected: RPAM Connector, RPAM Portal, MTC, or On-PAM.
Run Preflight Check
After selecting the role (and before moving to the parameters page), the following checks can be run by pressing the Run Preflight Check button, without making any change on the system:
· Operating system: RHEL 8 / Rocky Linux 8 is expected; another major version is shown as an error.
· Local repository and Repo metadata (offline mode): the number of bundled RPMs and the (re)generation of the repository metadata; Internet connectivity (online mode).
· Package dependencies: whether all packages required by the selected role can be resolved.
· WireGuard kernel module: whether the module is already loaded or can be loaded.
· JDK 20 (RPAM Portal and MTC) and the RPAM Portal jar files (RPAM Portal only).
· For the On-PAM role, only the operating system and the presence of wireguard-tools are checked.
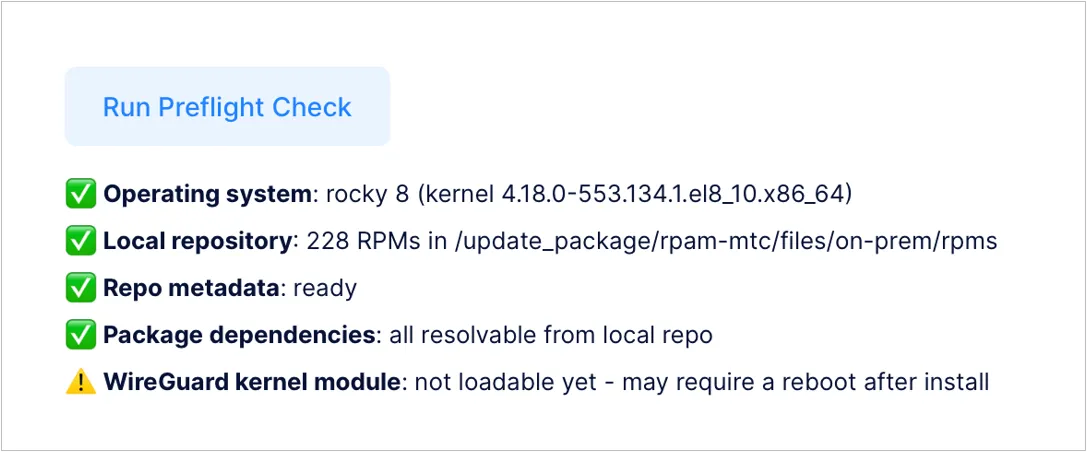
Check: If any line in the list shows an error (e.g., missing RPM, unreachable internet, unresolvable package dependencies), resolve that issue before starting the installation. If there is no error, continue with the installation.
The warning "WireGuard kernel module: not loadable yet – may require a reboot after install" (see Figure 9) is normal before the installation, since the WireGuard packages have not been installed yet. It does not block the installation. If the module still cannot be loaded at the end of the installation, a Reboot button is shown on the result screen.
Steps 4 and 5 – Parameters, Review and Confirm
The parameters page only shows the fields of the selected role. The role-specific parameters are explained in the related sections of this guide:
· RPAM Connector: Section 6.2
· RPAM Portal: Section 6.3
· On-PAM: Section 7.3
· MTC Outbound / Inbound: Section 8
After the parameters are filled in and Continue is pressed, all entered values are summarized on the Review screen. If something is wrong, you can go back with Previous and correct it. If everything is correct, press Confirm. The installation starts as soon as Confirm is pressed; do not close the browser tab until the completion message is shown. The installation can take a few minutes.
While the installation runs in the background, the screen shows the step-by-step progress list, the live log output (it can be viewed in detail with View Log and downloaded with Download Log), and the CPU/RAM/disk/IO metrics of the server. When the installation is completed, the Setup complete screen is shown; the Return to Main button returns to the main page of the installer.
If the WireGuard kernel module could not be loaded, the result screen shows the reason and a Reboot now button instead of Return to Main. This button reboots the server immediately; the wizard page cannot be reached until the server is up again. After the reboot:
· If the wizard was started as a service (Method B), it starts automatically and shows the "This host is already configured" page.
· If the wizard was started with run.sh (Method A), it does not start automatically; run ./run.sh start again in /pam/rpam-mtc.
If the WireGuard module could not be loaded because Secure Boot is enabled, rebooting the operating system does not solve the problem. Secure Boot must be disabled in the firmware/UEFI (or VM) settings first, which requires a power cycle (see Troubleshooting).