Offline Mode
5 min
Adding Offline Token
Follow the steps below to add an offline token.
Step 1: Generate a QR Code from Single Connect Web GUI.
- Log in to Single Connect Web GUI.
- Navigate to Administration > 2FA Provisioning. Here you will find the QR code and the activation code. To generate a new QR and activation code, select Generate New One.
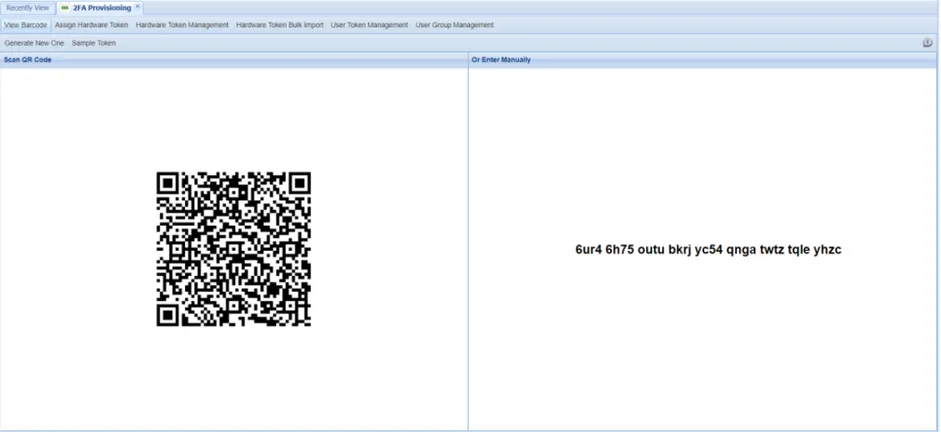
Step 2: Generate a token in Mobile Client.
- Open Single Connect Mobile Client App and log in with your Single Connect user.
- Navigate to Offline Token.
- Generate a token with any of the following methods:
- Scan QR code – you must allow the app to access and use the camera
- Enter the code manually with your user name
- Register token
The tokens you generate with any of these methods will appear on the Offline Token screen.
Note that the 2FA code will be generated for a pre-set time interval on the mobile application.
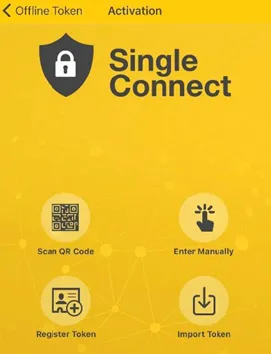
Offline Token Screen
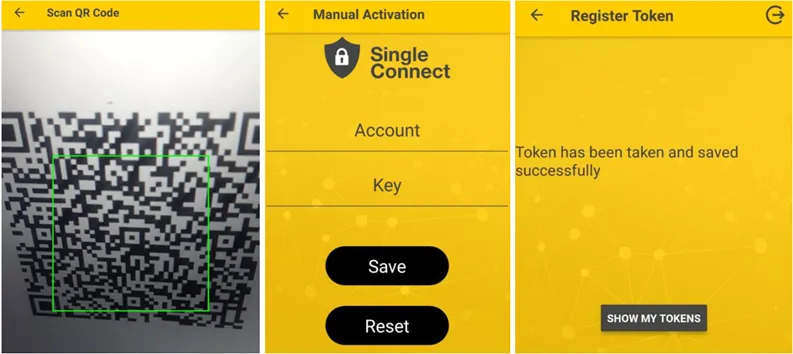
a) Scan QR Code, b) Enter Manually, c) Register Token
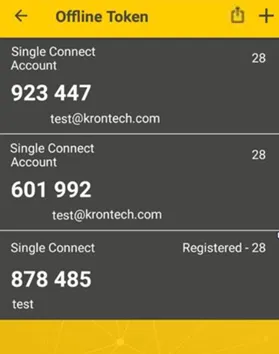
Offline Tokens
Exporting and Importing Tokens
You can export your tokens to copy them to another device or simply protect them from loss due to updates.
To export:
- Tap on the Offline Token menu.
Select Export, and it copies the collection of tokens in an encoded format and adds them to the clipboard.
- To keep it as a backup, paste it into notes or email.
To import a backup:
- Select and copy the backup text you stored in notes, email, etc.
Tap on the + button on the top-right corner, and the activation screen opens.
- Select Import Token.
- Tap on OK on the Your tokens are imported successfully dialog box.