Setting Up Desktop Client for Windows
3 min
Step 1: Download the desktop client.
- Open the Single Connect Web GUI in your browser.
- Click Download Desktop Client.
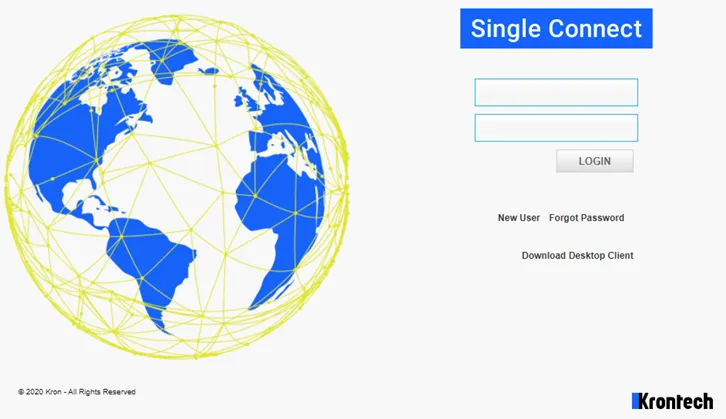
Click Download Desktop Client on the Single Connect Login Screen.
Step 2: Set up the desktop client.
- Open the downloaded MSI file, and a Setup Wizard opens. Click Next to start the setup and the Select Installation Folder window opens.
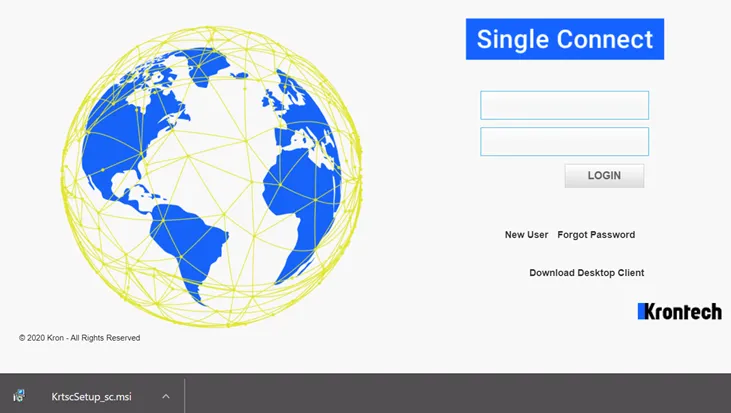
Open the Desktop Client setup file
- Select the installation folder for the Single Connect Desktop Client, and then click Next to continue.
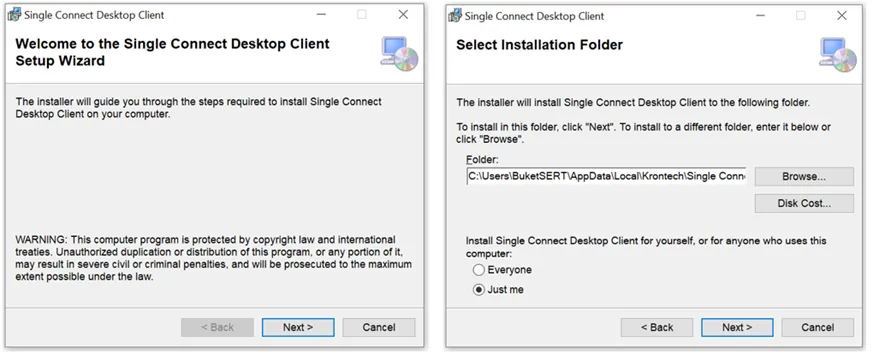
Select the installation folder.
- Click Next again to confirm the installation and then wait for the installation to finish. This might take a while.
- After Single Connect Desktop Client is installed successfully, click Close.
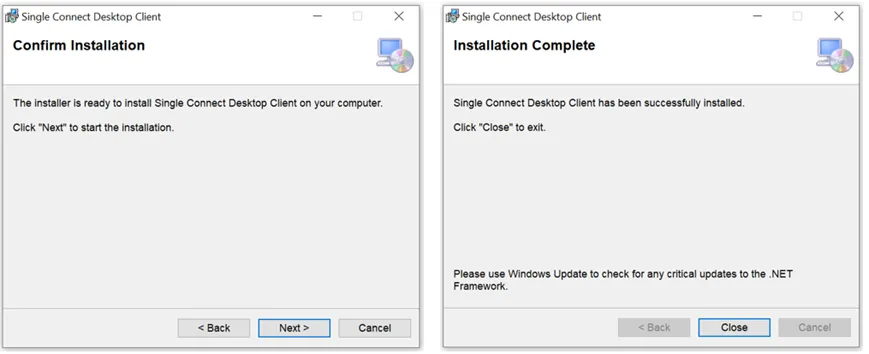
Install the Desktop Client and then click Close to exit.