Remote Access Configuration in Kron PAM
Remote Access Configuration page enables administrators to create/edit/delete RPAM requests in Kron PAM.
Before making requests, administrators need to set following system config parameters.
Add the cloud server system config parameter for the link attached to the email:
1. Navigate to Administration > System Config Man.
2. Set the following parameter as the Remote Access Portal (cloud server) address and Save:
Parameter Name | Default Parameter Value | Description |
|---|---|---|
rap.cloud.server | http://localhost:7777/connect | This parameter defines the Remote Access Portal address. The parameter can be defined as URL with IP (e.g., https://34.234.69.53/connect) or as URL with domain name (e.g., https://cloudpam.com/connect) |
There are also optional parameters that can be defined to tune Remote Access Configuration up.
Parameter Name | Example Parameter Value | Description |
|---|---|---|
rap.rdp.session.duration.limit.warning.before.min | 1 | This parameter defines how many minutes before an RDP session expires that the timeout warning will be sent. |
rap.ssh.session.duration.limit.warning.before.min | 1 | This parameter defines how many minutes before an SSH session expires that the timeout warning will be sent. |
rap.http.session.duration.limit.warning.before.min | 1 | This parameter defines how many minutes before a container-based HTTP/HTTPS session expires that the timeout warning will be sent. |
rap.token.expiration.period | 1 | This parameter indicates the lifespan of a token and is used to prevent the creation of long-term invitation links. |
rap.client.otp.enabled | false | This parameter is used to enable or disable multi factor authentication (MFA) for the Remote Privileged Access Management login. Default value is false. |
rap.passcode.characters.count | 12 | This parameter shows how many characters are used in the generated passcodes. This parameter's value should be numeric, and the default value is 8. If the system admin defines this parameter as 4 or fewer, the passcode is[DT1.1] created with 4 characters. |
rap.passcode.only.numeric.text | true/false | This parameter's value should be a boolean, and the default value is false. If this parameter's value is set as true, the passcode only contains numeric values; however, if this parameter's value is set as false, the passcode contains alphanumeric values. |
The passcodes of RPAM requests are sent via email and optionally SMS services. In the case of the SMS service is employed, the SMS parameters related to Remote Privileged Access Management should be defined on SMS Integrations subscreen of the Integration tab under System Configuration Management screen.
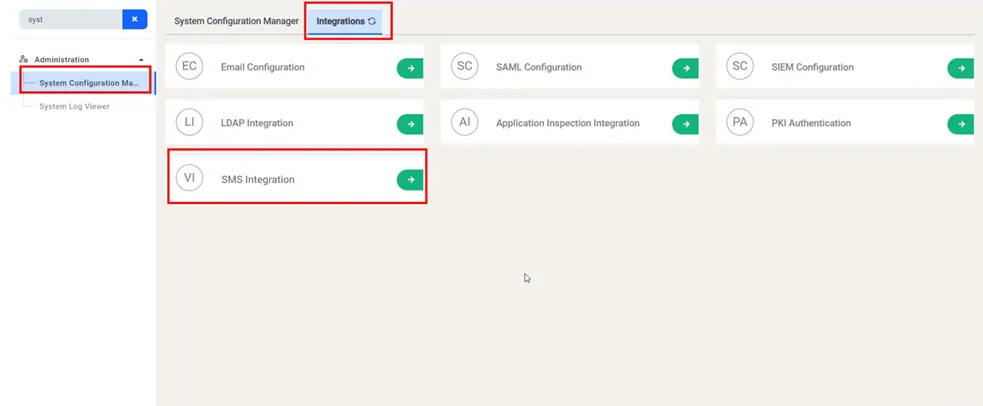
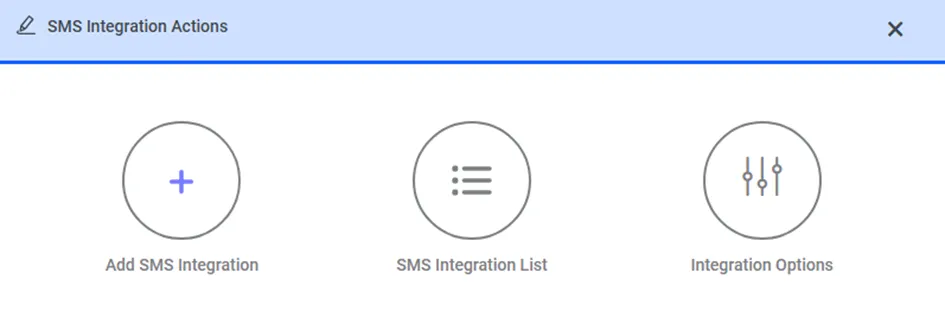
To configure SMS services for Remote Privileged Access Management, please follow the steps explained in Remote Privileged Access Management Integration.
Here are some example values of SMS Integration for Remote Privileged Access Management:
HTTP SMS Parameters | Example Values |
|---|---|
HTTP URL | https://api.sms.com/v1/send-sms |
HTTP Method | POST or GET |
HTTP Headers | Content-Type:text/xml |
HTTP Body | <request><authentication><username>username</username><password>password</password></authentication><order><sender>KRON</sender><sendDateTime></sendDateTime><message><text> <![CDATA[ Dear %userEid%, Please use the passcode below during login phase of your Remote Privileged Access Management connection. Passcode: %passcode% Remote Privileged Access Management Connection (Access On Web Browser): %connURL% ]]> </text><receipents><number>%phoneNumber%</number></receipents></message></order></request> |
HTTP Encoding | UTF-8 |
HTTP Delimiter | & |
SMPP Integration Parameters | Example Values |
|---|---|
SMS Channel | SMPP |
IP | localhost |
Password | netright(Encrypted) |
System ID | netright |
Source Address | 2222 |
Receive Timeout | 30 |
Port | 16000 |
Then allow access from the cloud server to Kron PAM.
1. Edit the Tomcat CORS file with the cloud URL in the web.xml file.
a. Open the web.xml. vi /pam/gui/conf/web.xml
b. Fill the CORS allowed origins field.
i. Example;
<param-name>cors.allowed.origins</param-name> <param-value>https://remote.cloudpam.com</param-value>
The * wildcard allows all access, but this usage is not recommended for product environments.
The RPAM requests can be created by clicking the +Add button.
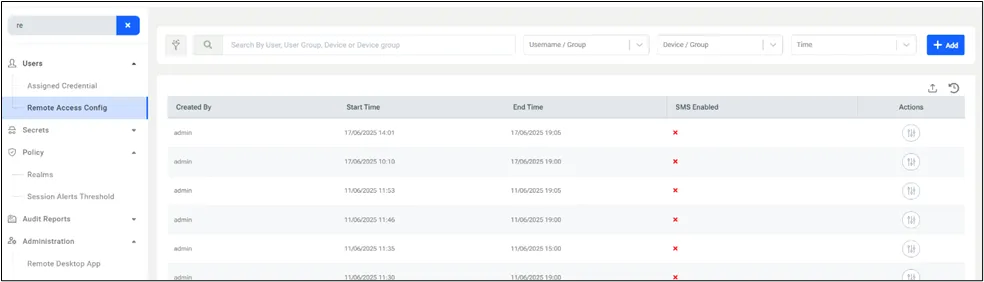
The vendor needs to have single.connect.rdp.client.moduleVisibility, single.connect.cli.moduleVisibility, remote.access.config.moduleVisibility and aioc.device.group.moduleVisibility portal rights to make RDP/VNC/SSH/Container based HTTP(s) sessions via Remote Privileged Access Management.
netright.license.moduleVisibility portal right is needed to assign the PAMLimited&RPAM User Type to the users.
After creating the RPAM request for the user, the request can be edited or deleted by clicking the options button to the right side of the request.
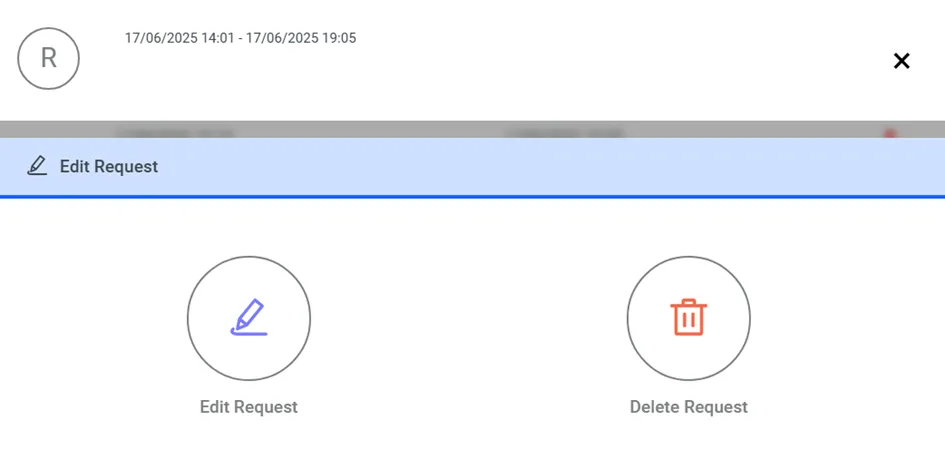
Admins can verify the details of the request by clicking on the request.
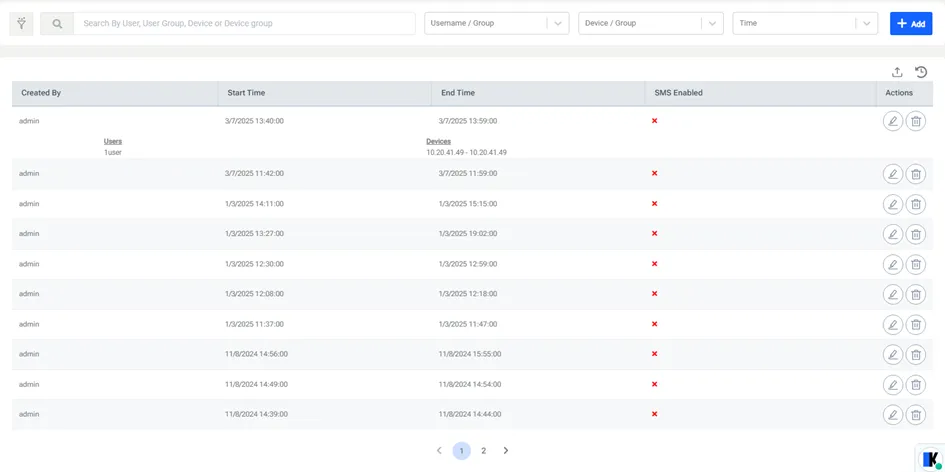
To create RPAM request:
1. Navigate to Users > Remote Access Config.
2. Click the +Add button.
3. Fill in the username/user group and device/device group and optionally select whether the SMS service for sending RPAM requests, lastly, click Next. If the user hasn’t required realm rights, the warning pops up and says “The realm right is not sufficient for the selected user(s) or user group(s)”.
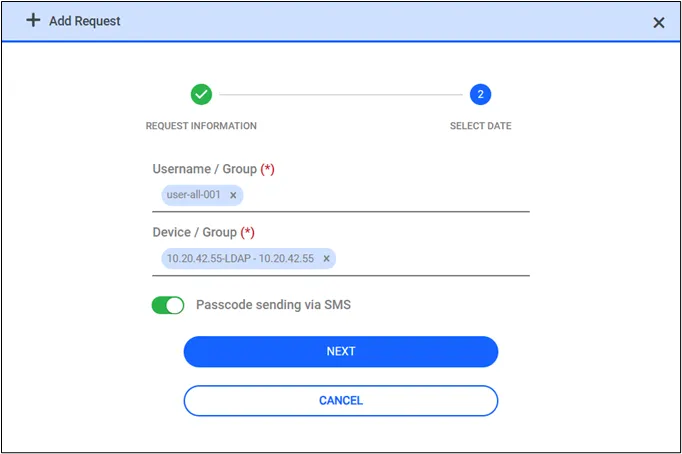
4. Fill in the start and end time and select the days.
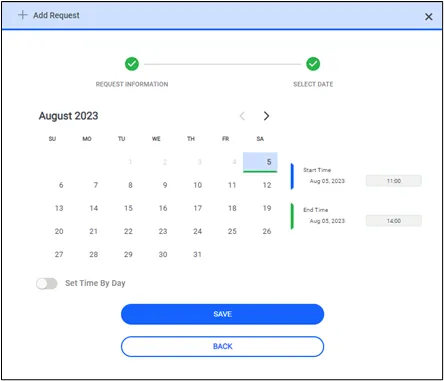
Admins can also set specific working hours for vendors by enabling Set Time by Day.
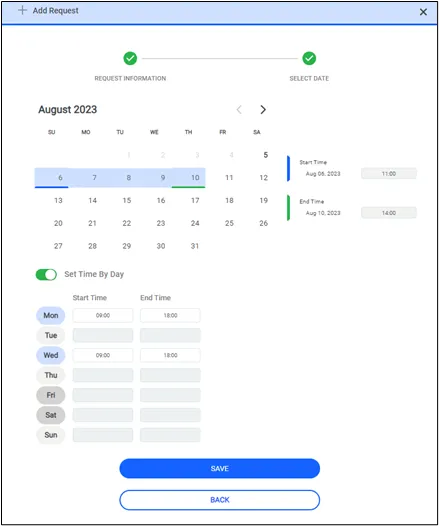
5. Click the Save button. Users receive an email with a portal uel and a passcode.
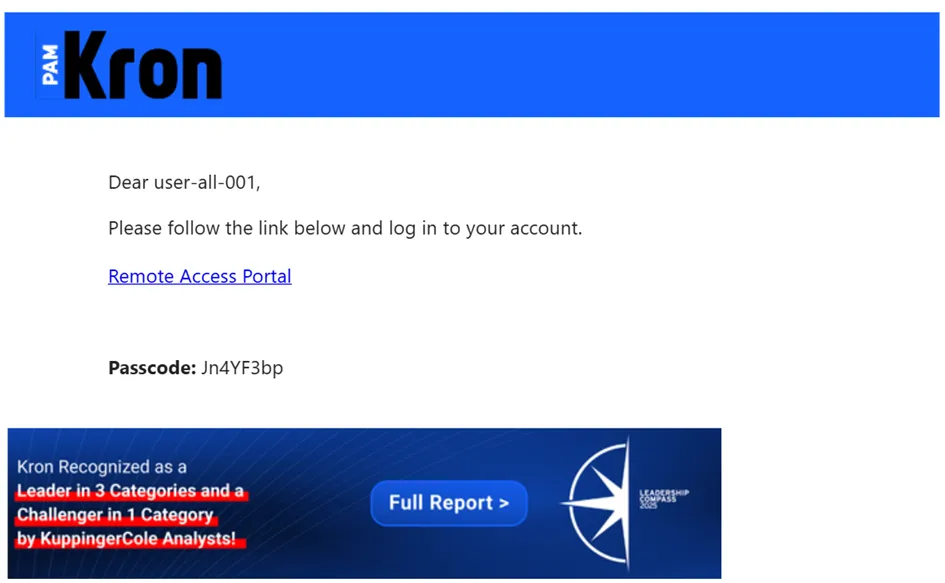
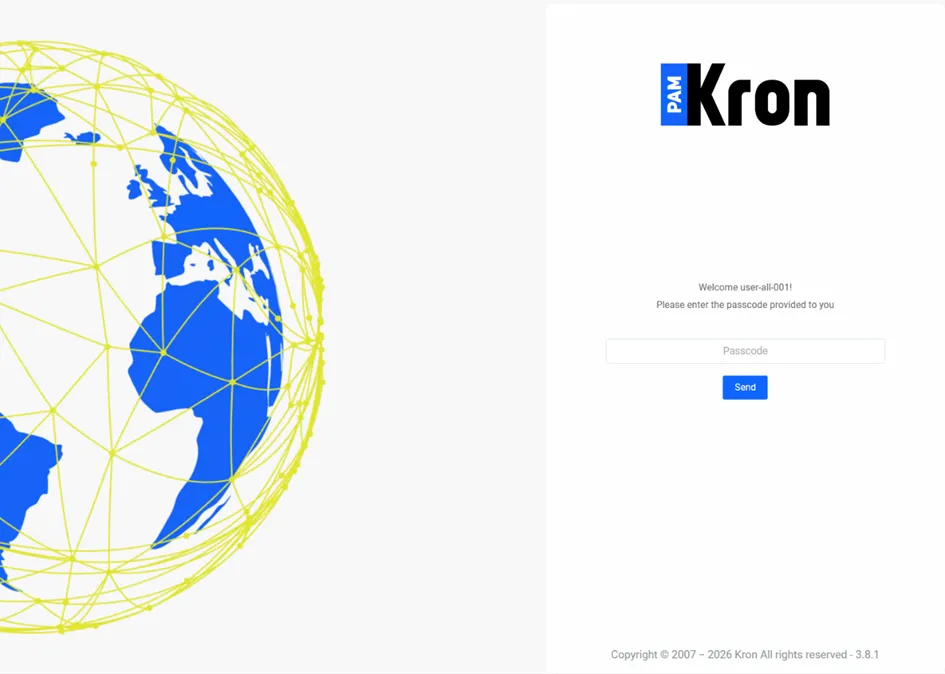
When the working time starts, users can click on the URL, enter their passcode first, then enter their Kron PAM account password and start working.
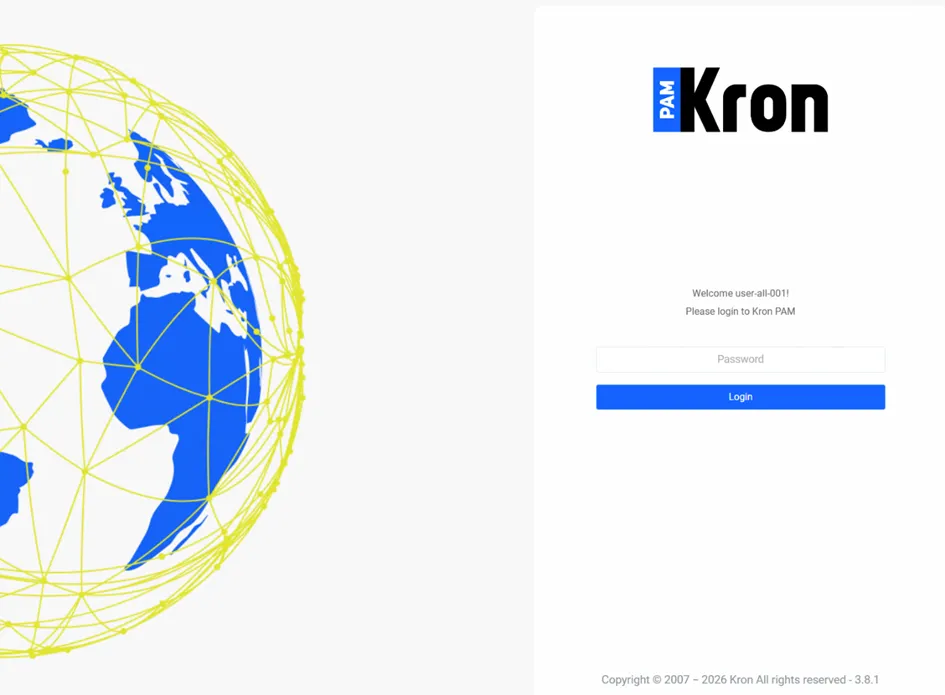
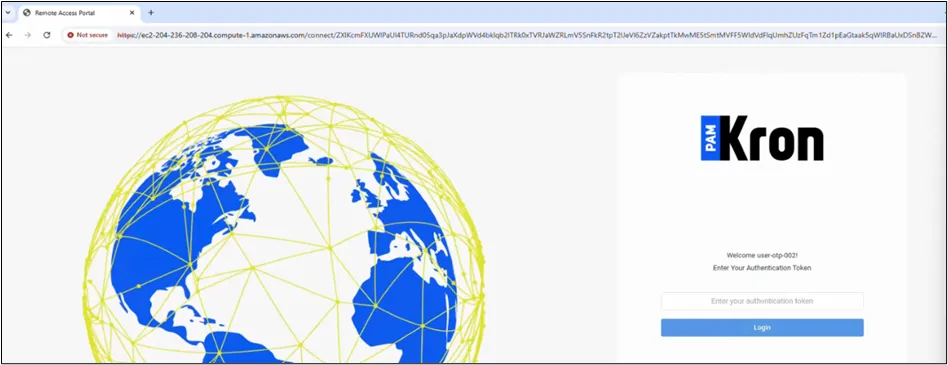
If the OTP parameter (rap.client.otp.enabled) is set to true, after entering the Kron PAM user’s password, the user must enter the OTP value which is accessible on the Kron PAM Mobile Client Application or email.
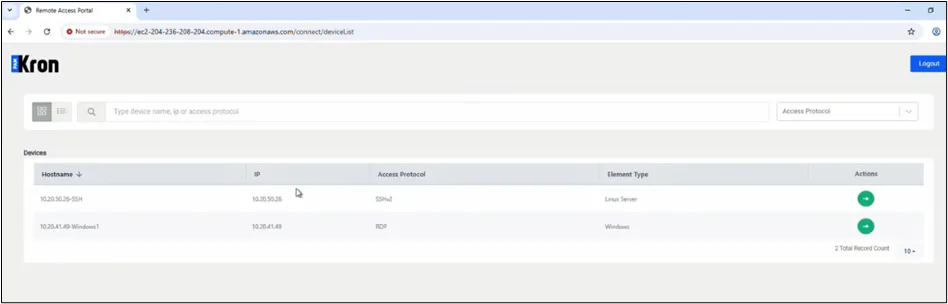
The device list is shown on the Remote Access Portal. The user can access the target device by clicking the Action button.
If the working time ends, the following timeout screen is shown to the user.