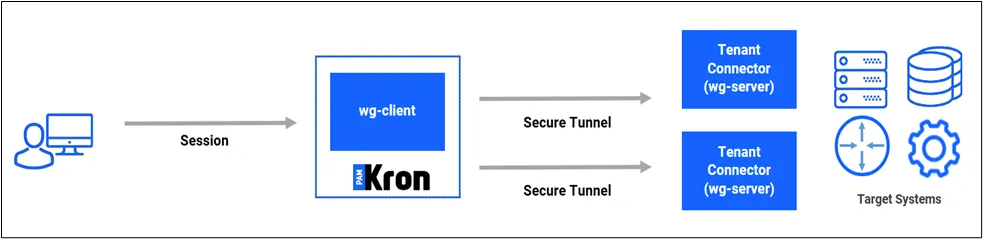
Tenant Connector Outbound Installation
Check the Secure Boot Enabled status before the installation by running the mokutil --sb-state command. In case secure boot is enabled, it might cause an error during the WireGuard installation. Please disable it to continue the installation!
If server-level firewall rules are desired to be applied, the user must allow the required ports in the Tenant Connector Outbound environment. sudo firewall-cmd --add-port=443/tcp --permanent sudo firewall-cmd --add-port={selected-wireguard-port(e.g., 10000)}/udp --permanent sudo firewall-cmd --add-port={file-transfer-port(e.g., 22}}/tcp --permanent sudo firewall-cmd-- reload
The following steps should be read carefully to successfully install Tenant Connector Outbound on the regarding machine:
- If you install MTC Outbound on Kron PAM v.3.7.0 or earlier versions, you need to update the tunnel_setup.sh and tunnel_client_setup.sh files under /pam/gui/netright/scripts/. You can obtain this file from the support team. You can skip this step if you install MTC Outbound on Kron PAM v3.7.0 or later.
- Download the installation script on the machine that is used for Tenant Connector Outbound. The support team can provide the installation script. After downloading the script, unzip the installation script on the machine. The user can use the unzip command to extract the files from the installation script file.
In case the bash: unzip: command not found error is shown, the unzip package needs to be installed via the sudo dnf install -y unzip command.

If somehow the user needs to start the script again (maybe because of the wrong input or missing file, etc), please remove all installation files except for the compressed installation script file and unzip the compressed installation script file again. After this, you can execute the script.
We highly recommend this method, since the extracted files might be modified after the script execution for the first time, and executing the script with modified files might cause the problematic installation!
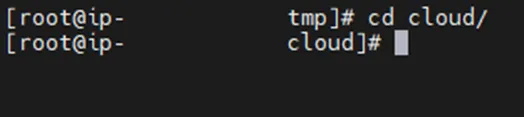
- Navigate to the cloud directory:
- Run the configuration script:
Linux CLI: [root@connector~cloud]# sh configure.sh
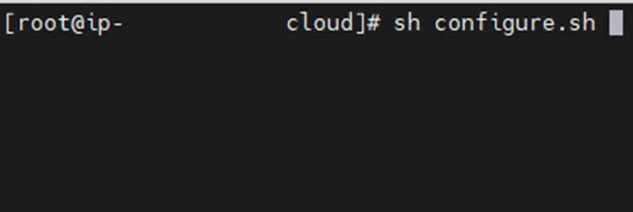
In case you need to set script permissions to execute it, you need to run thechmod +x configure.sh command.
You should have root privileges to run this script.
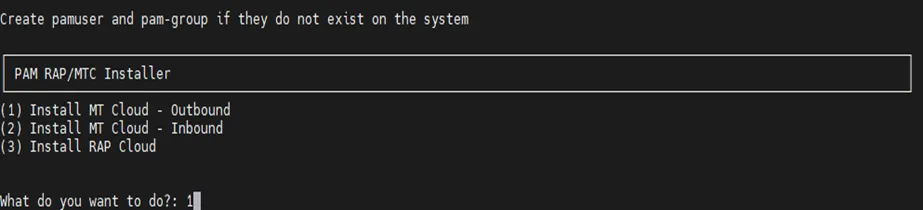
- The installation script should be restarted after the forced reboot. The installation script asks the user either: to install MT Outbound Connector on the cloud, or to install MT Inbound Connector, or to install the Secure Remote Access Portal (RAP) module on the cloud. (The last option is not related to MT Connector.)
- To continue with the Tenant Connector Outbound installation, the user should select the first option by entering 1 and pressing the Enter key.
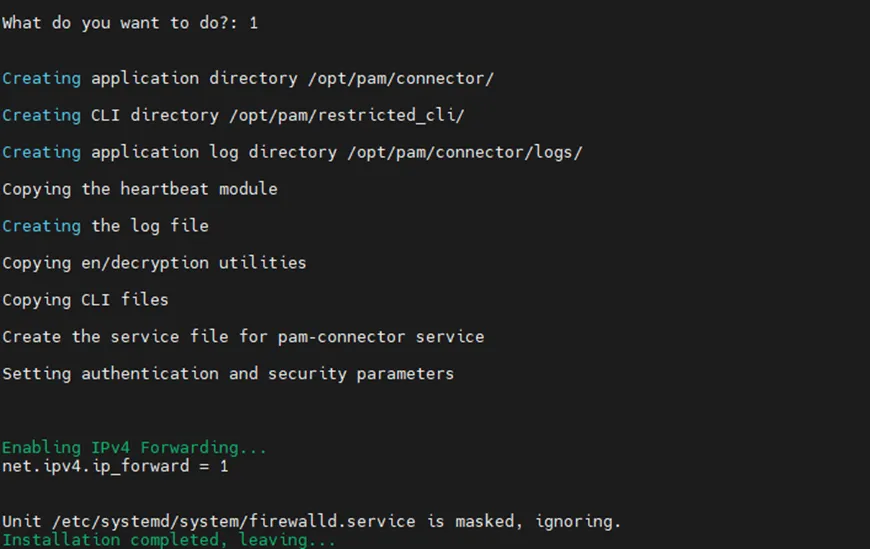
- Once the Installation is completed, leaving … message is seen on the screen, the installation is finalized.
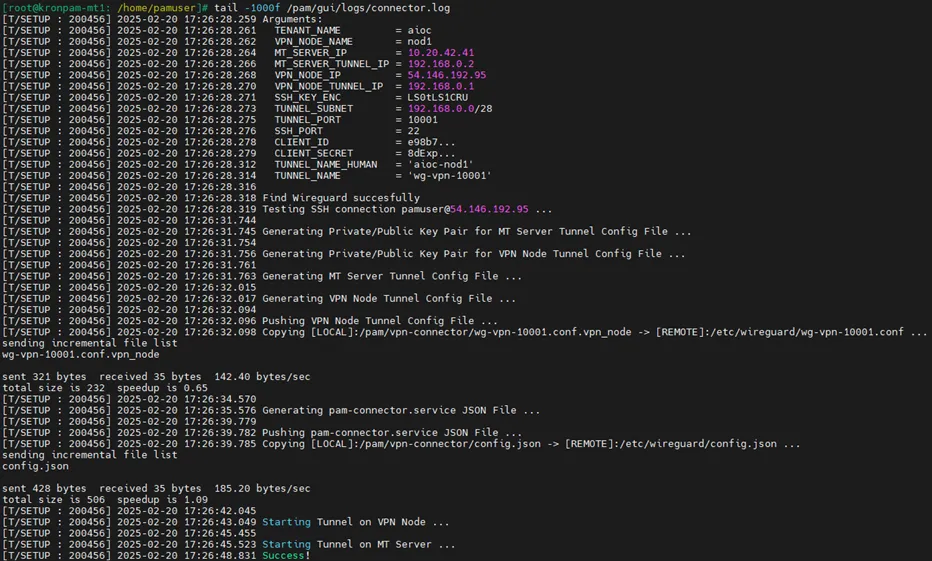
- The rest of the configuration (WireGuard, pam-connector.service, etc) is handled in the process of adding an outbound connector node by pressing the SAVE button after filling in all required data on the Tenant Connector page of Kron PAM Web GUI.
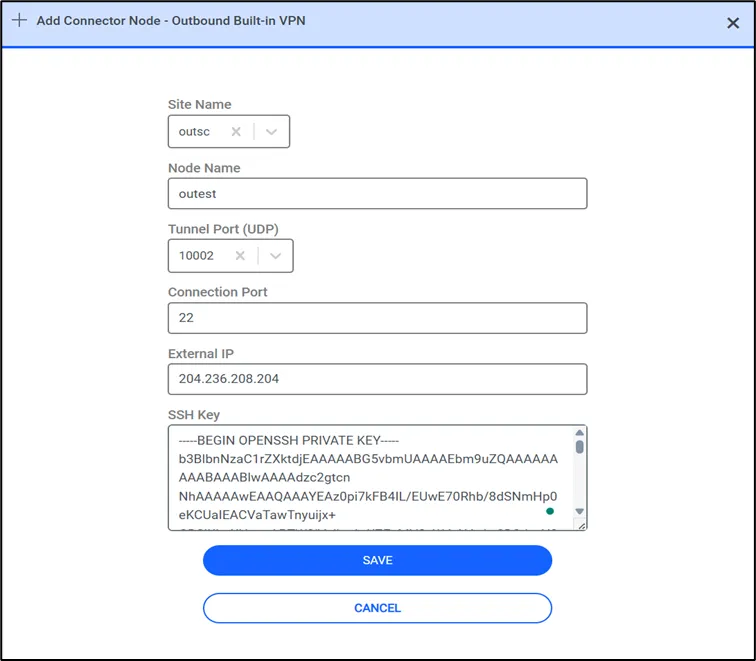
You can find the status of the rest of the configuration management mentioned in the 8th step by checking the connector.log file under /pam/gui/logs. In case you see a Success message at the end of the log file, the installation is completed.